Steps to configure the donor statement template
Login to the V2 Admin Portal and navigate to: Finance > Statements > Configure Statements

Click the Edit Configuration button in the bottom right-hand corner

Click the Change Photo button to upload your church logo (this will default to the Library tab that includes your previously uploaded images)
Please note: the maximum height for your statement logo is 125 pixels.

If your logo exists in the library
-
Click the image you wish to use and then click Use Selected Photo
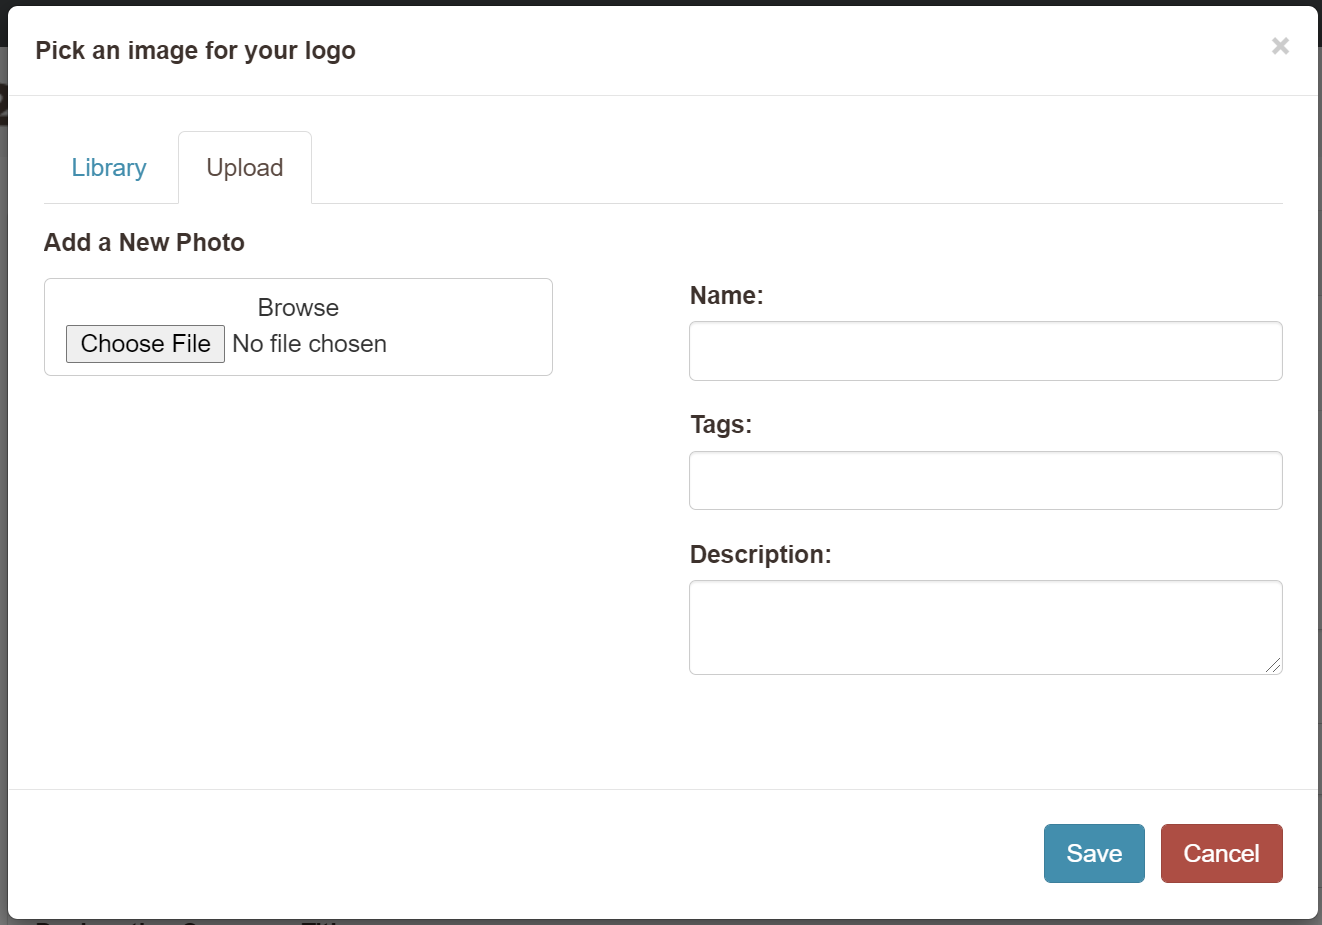
If your logo doesn’t exist in the library
-
Click the Upload tab
-
Click the Choose File button
-
Select the image from your computer
-
Click Open
-
Click Save

In the Cover Message text box, type your message to your donors

In the Questions Message text box, please provide an email address and phone number that your donors can use if they have questions regarding their statement

In the Designation Summary text box, provide a descriptor for the designations the donor has supported. Examples: Designation Summary, Fund Summary, Giving Summary

In the Footer Message text box, provide IRS-compatible messaging regarding goods for services. Please also provide your Federal Tax ID.

To show the donor name with each payment line, select the Force Donor Name In Details check box
Select the Show Check Numbers check box to include the check number for any gift given by check
Select the Show Gifts From Others check box to show gifts that have been made by organizations on behalf of the donor on the statement (conduit gifts) during the statement period. This section will not show dollar amounts on the statement.

To include giving goals on the donor statement, select the Show on Statement Summary Page check box
-
Provide a Title for the goals section
-
Provide a Pledge label
-
Provide a Given label

Click Save & I’m Done
