Steps to install your scanner and the Scan2 check scanning software
The scanner that is supported in production with Vision2 is:
-
Digital Check TellerScan TS240
Notes about Scan2
To use the new version of the check scanning application (Scan2) you will need to uninstall the previous version and install the new version. This will be a one-time requirement. Once Scan2 is installed, future releases will be automated.
Please note: the order of installing the new application and uninstalling the previous application does not matter, as they exist in different locations.
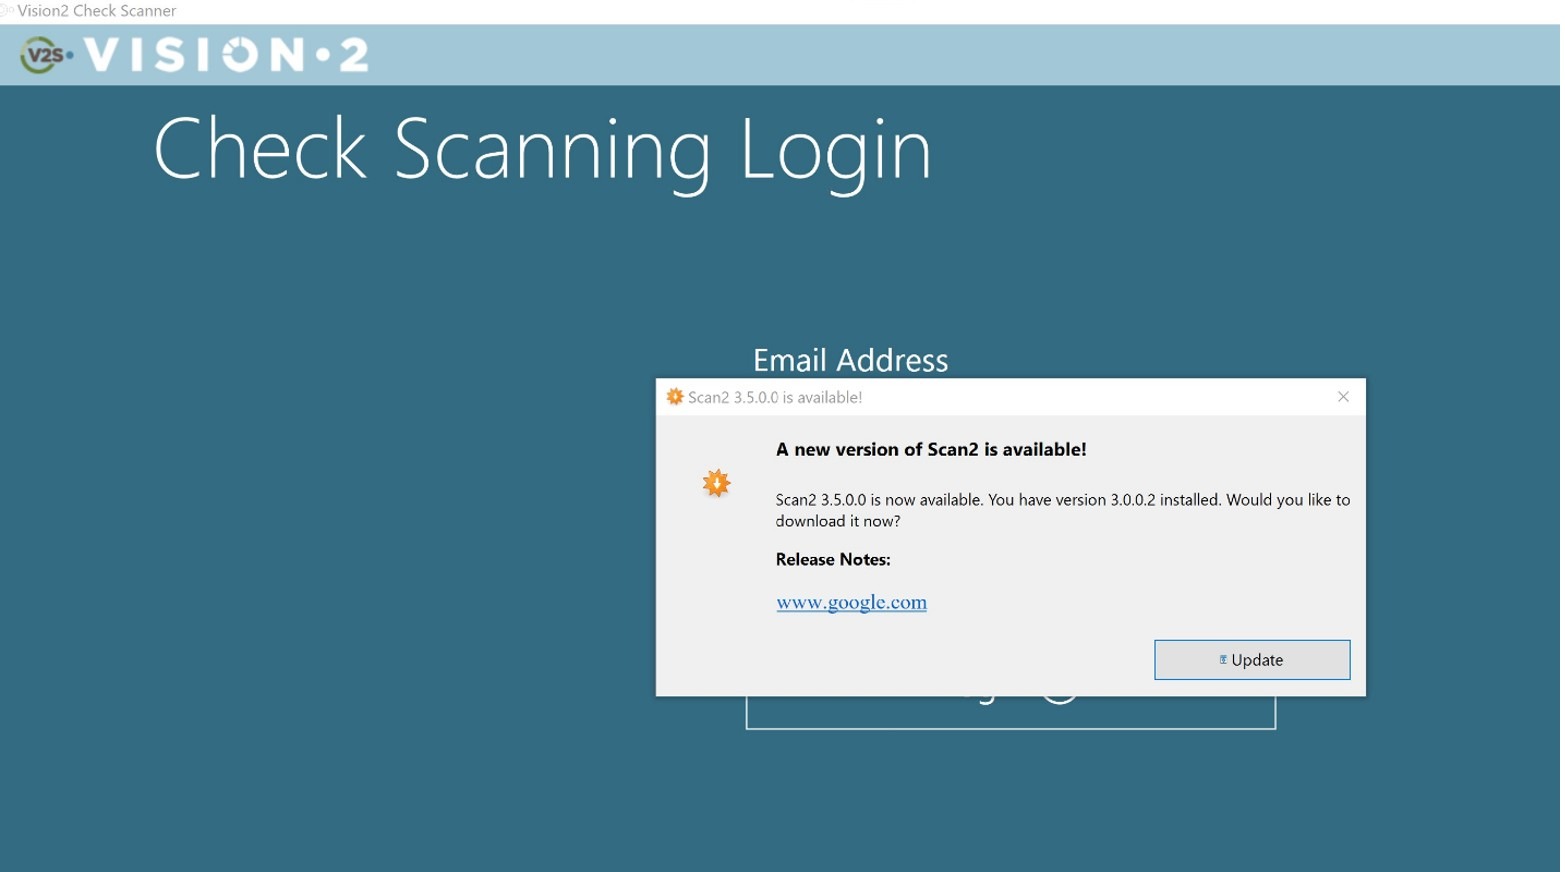
After the first install, when you launch the Scan2 application, you will see a popup like the one below if a newer version is available. Clicking the Update button will download the new version and launch the setup wizard that will walk you through the install process.
Install Your Check Scanner
If you are new to Vision2 Check scanning, you will need to install your scanner according to the manufacturer’s instructions before installing Scan2.
If you need a copy of the driver for your scanner, you can download from this link:
Install the TellerScan Driver (TS240)
Install the Scan2 Application
Click the link below to download the Scan2 application installer:
Install the latest version of the Check Scanning Software (Scan2)
Please note: The steps to download and launch the setup application may vary depending on your browser. Please scroll to the section for the browser you are using. When you have completed those steps, scroll down to the Resume Install section in this article.
Chrome
-
For Chrome users: the download should appear in the bottom left-hand corner of your browser. Click the file name to start the setup wizard.
For Chrome users: the download should appear in the bottom left-hand corner of your browser. Click the file name to start the setup wizard.

-
Scroll down to the Resume Install section of this article
Firefox
-
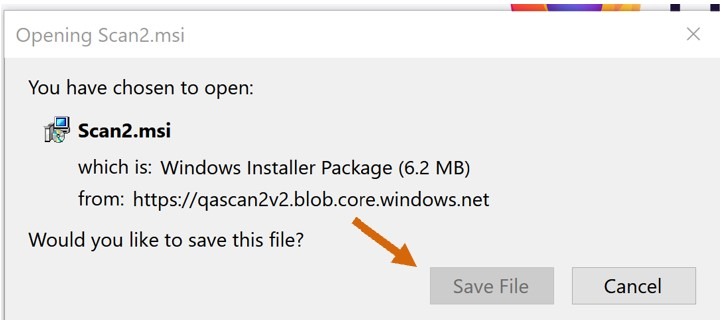
Firefox users will see a popup. Click the Save File button
-
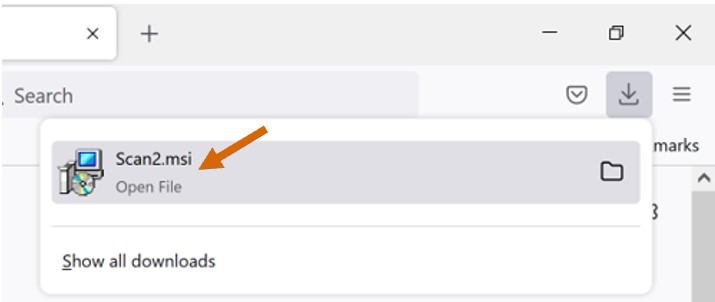
Then click the downloads icon in the upper right-hand corner of the browser

-
Click the Scan2.msi file
-
If you receive this warning popup message, click OK

-
Scroll down to the Resume Install section of this article.
Microsoft Edge
-
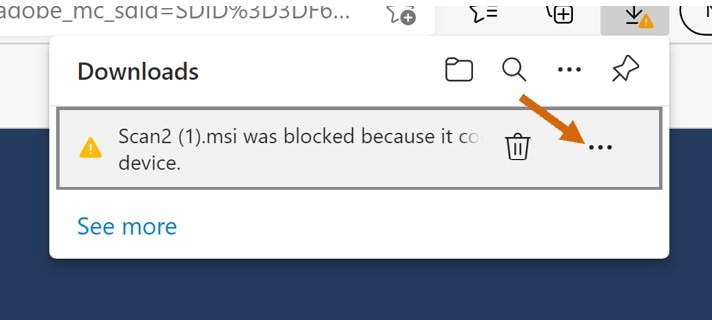
Microsoft Edge users may receive this popup. Hover your mouse over the warning link and click the points of ellipsis:
-
Then click the word Keep (no screenshot available)
-
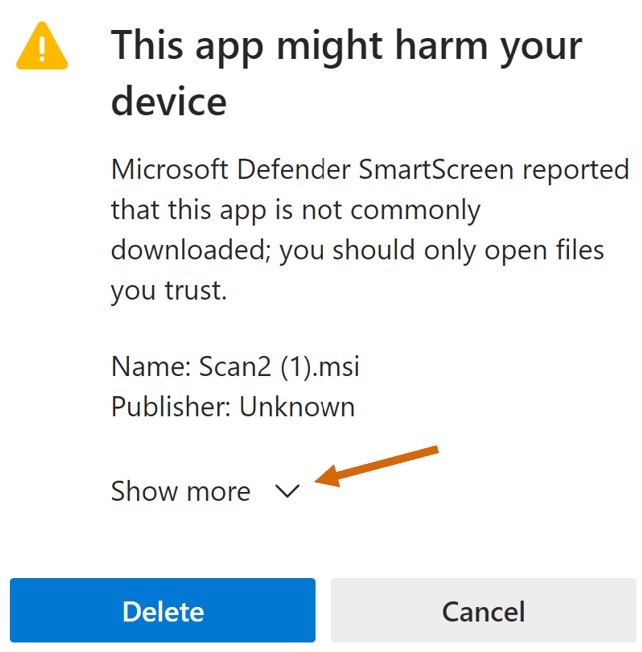
If you receive this popup, click the Show More drop-down
-
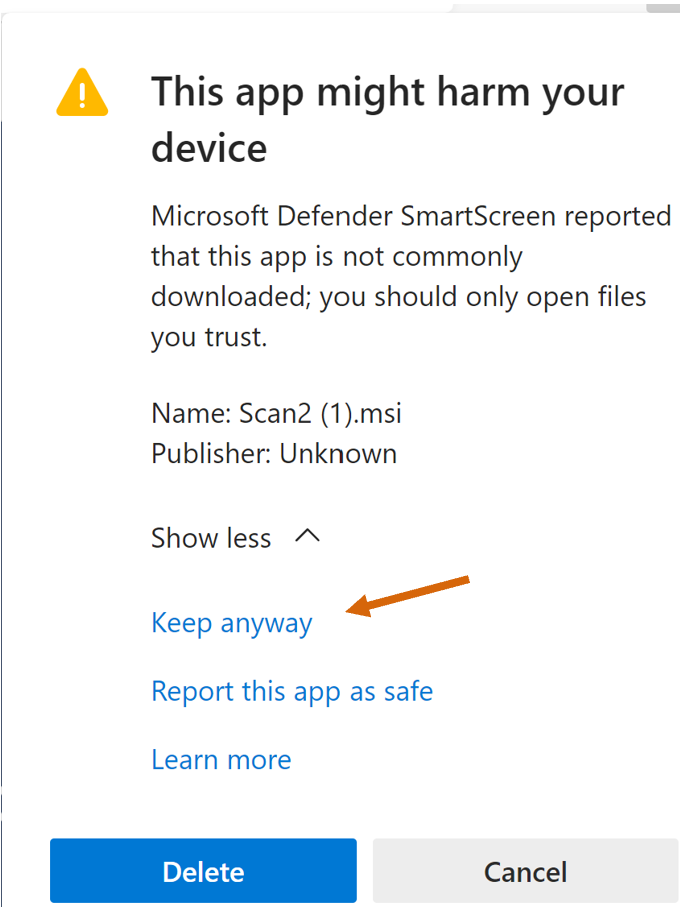
Then click the Keep Anyway link
-
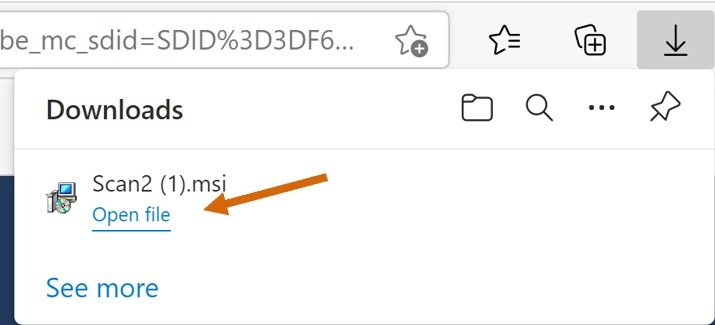
Click to open the Scan2.msi file
Resume Install Steps
-
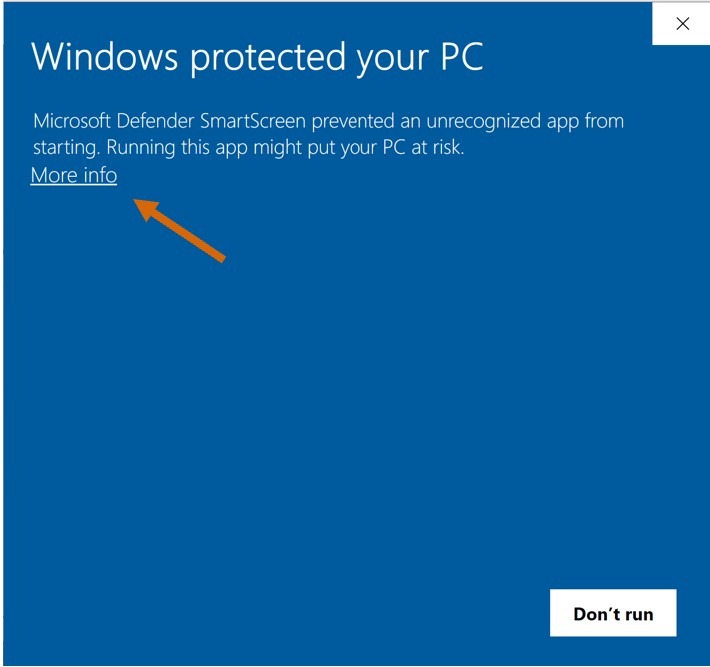
If you receive a windows defender warning, click the More Info link
-
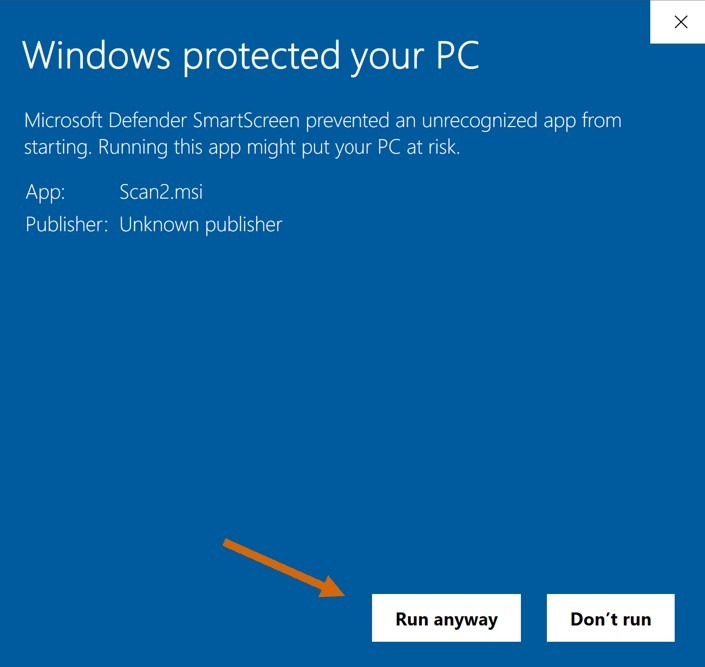
Click Run anyway
-
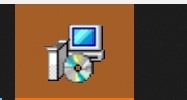
If the setup wizard does not pop up on your screen, click this icon on your taskbar:
-
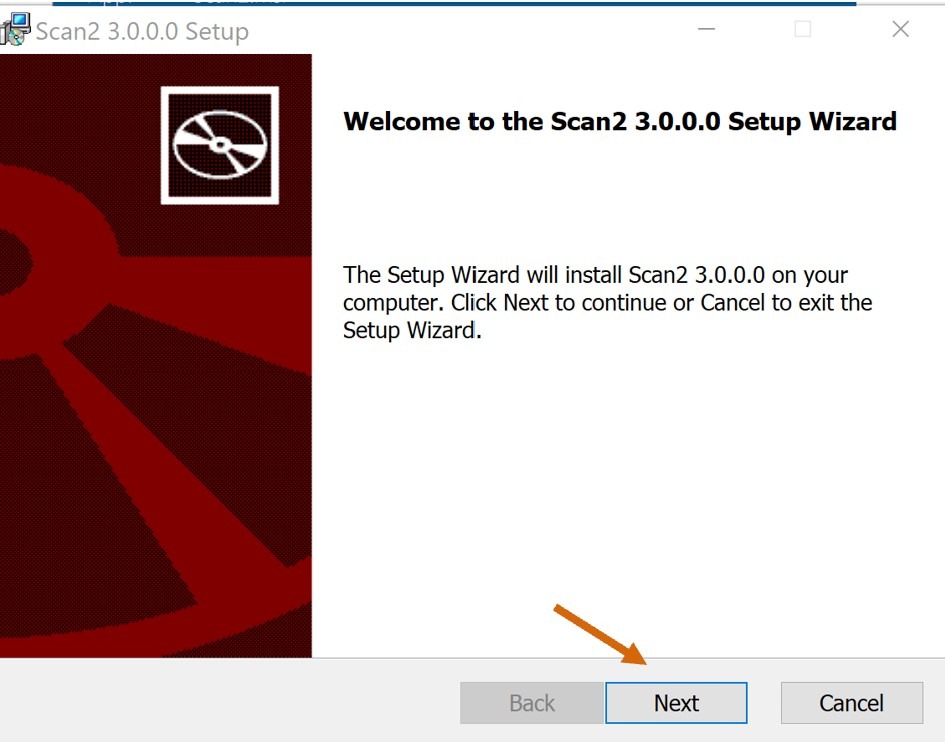
Click the Next button
-
If you receive a User Account Control message, click Yes (screenshot not available)
-
Click Finish
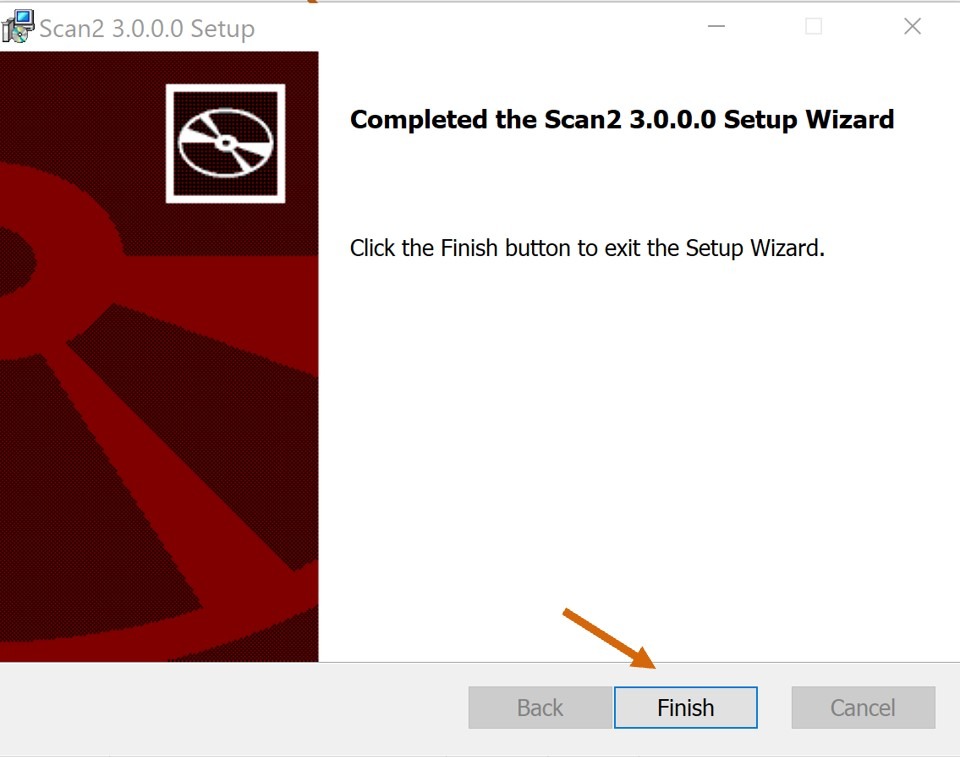
-
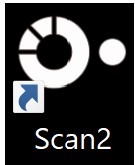
When the software install is complete, there will be a shortcut on your desktop titled Scan2. Double click the icon to launch the scanning application.
First Launch
-
Click the gear icon in the upper right-hand corner

-
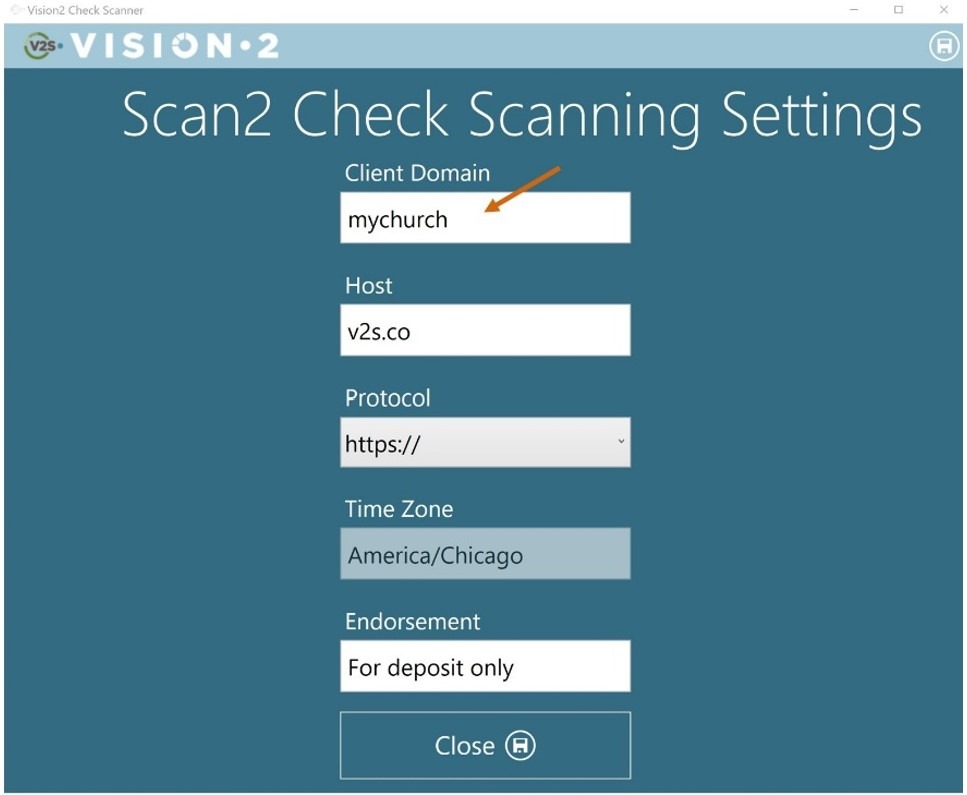
In the Client Domain text box, enter your domain name
Please Note: The client domain will only need to be entered the first time you launch the application. Your client domain is the same as your V2 Admin portal subdomain.
For example: if your admin portal URL is https://mychurch.v2s.co, your client domain for the scanning software is mychurch.
-
The remaining settings should be pre-filled. Please Note: The Time Zone setting is the current time zone on your computer.
-
Click the Close button at the bottom of the settings page to save your changes.
-
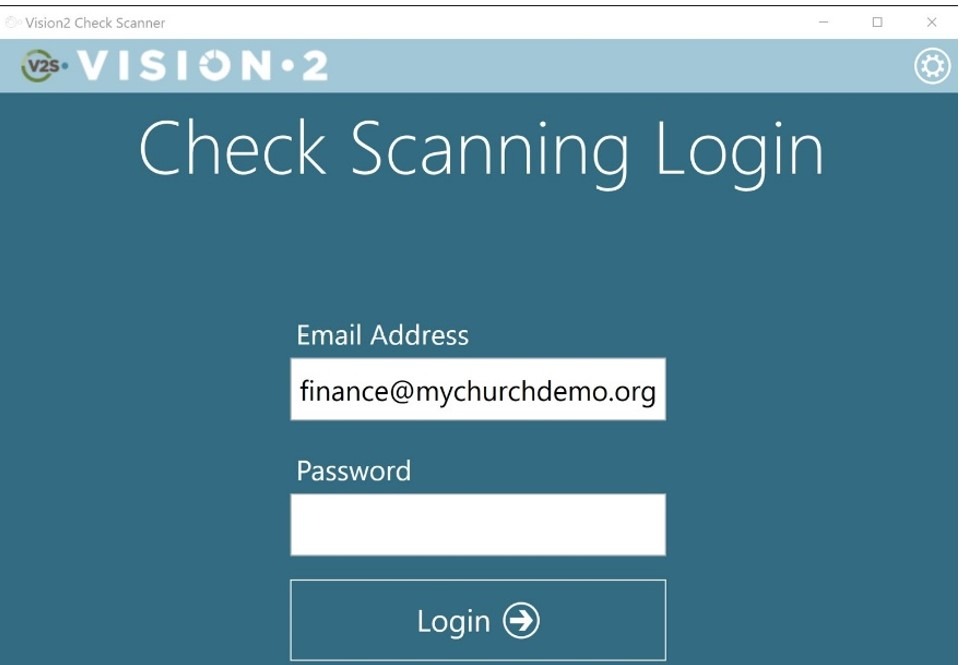
Now you are ready to login with the same email address and password you use to login to the V2 Admin Portal
